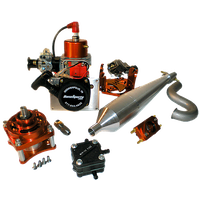
How do I install the zero drag seals? Are they hard to install?

The zero drags are simple to install. 

Tools Required:  Flywheel Puller, Zenoah Engine Tool (or a piece of metal or hard plastic tubing the same diameter of the zero drag to press the zero drag into the rubber seal), Hammer, and Small Diameter Punch (or similar) to tap the “key” out of the slot in the crankshaft.

Zero Drag Seals install on each side of the engine crankcase.  On the output side (the side of the engine with the collet), slide the zero drag over the crankshaft with the tapered edge toward the seal, and press until it pops into the seal all the way with the flange seating flush against the face of the rubber seal.  To install the recoil side, remove the recoil, motor plate and flywheel.  There’s a small key (a half moon “key” which holds the flywheel to the crankshaft), remove the key.  Now you can repeat the installation process and press the zero drag into the rubber seal until it is seated flush.  Reinstall the key, flywheel, mount plate, and recoil and you are ready to go.

Zero Drag Seals reduce drag on the crankshaft, creating a smoother surface while retaining the crankcase seal.  Installing Zero Drag Seals helps the engine work less reducing wear and tear – while improving RPMs.  The improvements are incremental (relatively small), but are part of the process of achieving peak performance.

Where should my boat balance? How important is this?

On v-bottom boats, the balance point is 27-30% of the total length of the hull, measured from the transom (back of the boat). A 50” boat will balance at 13.5” – 15”. Balance is very important. A boat that is too nose-heavy may never get up on plane and will not handle correctly.

Can you tell me a little more about soldering drive cables?

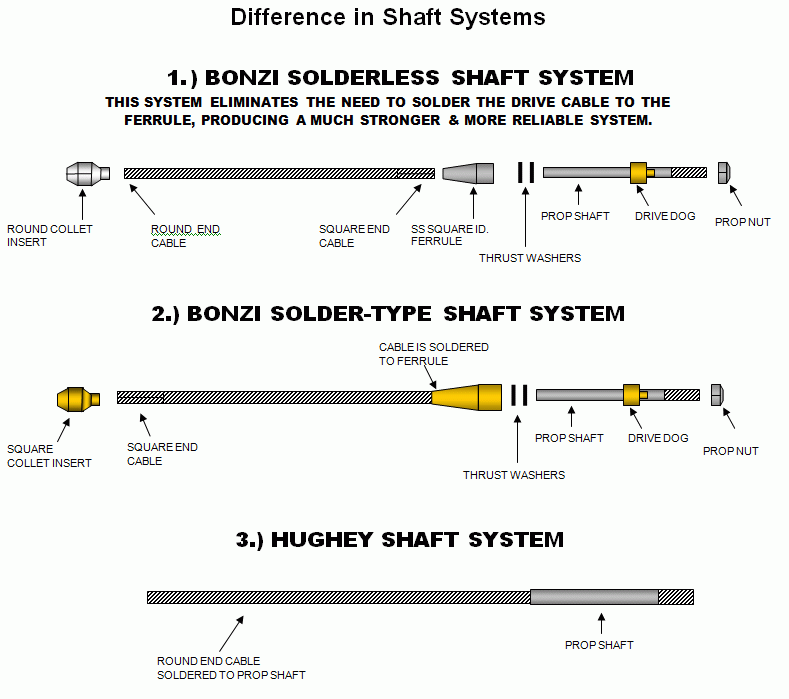
We highly recommend our solderless drive cable assembly.  It uses a round collet to a square ferrule.  The cable does not have to be soldered, which means that you have a much stronger connection. If you choose to go with a setup where soldering is necessary, here is what we recommend:

Stay-Brite Silver Solder (which comes with its own flux) is the only brand we use or recommend.  We use a propane torch with Mapp gas (it burns hotter).

General Soldering Procedure:

Lightly sand the cable to the length that will be inside the ferrule, clean with acetone, apply the flux to the cable, and slide the ferrule over the end of the cable so the flux transfers to the ferrule.  Put the cable assembly into a vise with the cable hanging straight down, and clamp so it supports the ferrule in the proper position.  Cut about 3 pieces of silver solder (approx 1/8 inch long each), and drop those into the ferrule – the pieces will rest on the exposed cable.  Then take the torch and heat the outside of the ferrule, working the heat around the outside perimeter until the solder starts to melt and flow – immediately pull the heat away.  If you apply any heat directly to the cable, it removes the temper and causes failure.